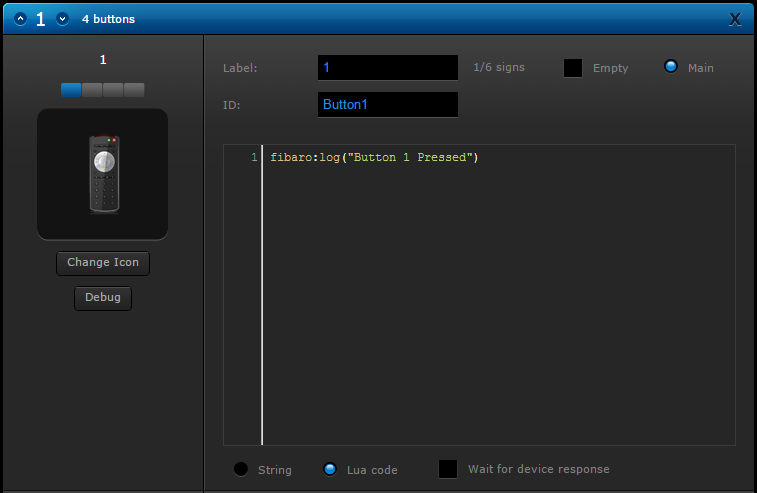
If you have downloaded the virtual device we have created, you’ll see a “fibaro:log” function has been added to each button. This is a great way of testing to make sure everything is working.

This tutorial assumes a moderate level of knowledge of the Fibaro System.
The Minimote from Aeotec is great little device for calling up to 8 discrete scenes on your HC2, but we get a lot of requests from people asking us how to utilise it. So, here is an updated guide on how to get the most out of your Aeotec Minimote!
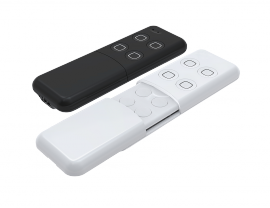
The first thing you need to do, is include your Minimote into your Fibaro System.
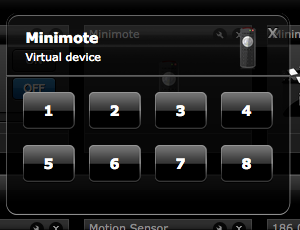
Next, we need to create a Virtual Device in our System that will be a virtual “copy” or “representation” of the physical device. This isn’t strictly necessary, but it will become clear why we want to do this a bit later…
You can create a device from scratch, or download one here. How you lay the device out is not important, what is important is that it has 8 buttons. You also don’t need to worry about the names on the buttons, feel free to change them to something more meaningful if that helps.
Now all we need to do is link the physical button presses on the device to the virtual buttons on the Virtual Device. We do that using a simple Lua scene.
                        --[[

%% properties

201 sceneActivation

%% globals

--]]


--------- Your Device ID's Here ---------


local virtualDevID = 202  --Edit these values!!

local minimoteID = 201


------ Do not edit below this line ------


local buttonPressed = fibaro:getValue(minimoteID, "sceneActivation")

fibaro:call(virtualDevID, "pressButton", buttonPressed)
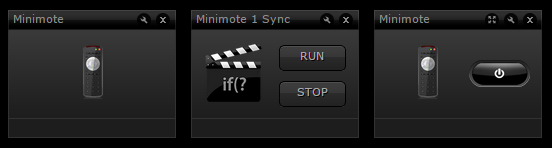
At this stage, we should see something like this:
You’ll have 3 new items in your system – a Physical Zwave Device, a Lua Scene and a Virtual Device.
he scene takes the button press on the physical device, and presses the corresponding button on the Virtual Device.
Let’s now go and put some functionality to these buttons presses.
Open up the virtual device and go through changing the buttons types to Lua. From here, you just need to add whatever code you want to execute on a given button press.
Single button presses return an odd value:
Press and hold actions return an even value:
So, if you want to map an action to turn on a light with a single press of Button 1, and off again with a press and hold of the same button, you would add the “turnOn” command to Button 1, and the “turnOff” command to Button 2.
I know what you’re thinking – there is (arguably) a simpler way of triggering Lua code from a button press with just the Lua scene itself. It looks something along the lines of this:
--[[

%% properties

201 sceneActivation

%% globals

--]]


local ButtonPressed = tonumber(fibaro:getValue(201, "sceneActivation"))

if ButtonPressed == 1 then

--do something

elseif ButtonPressed == 2 then

--do something else

elseif ButtonPressed == 3 then

--do something else

elseif ButtonPressed == 4 then

--do something else

elseif ButtonPressed == 5 then

--do something else

elseif ButtonPressed == 6 then

--do something else

elseif ButtonPressed == 7 then

--do something else

elseif ButtonPressed == 8 then

--do something else

else

fibaro:debug("Error")

end
Functionally, this works in exactly the same way as the above method. However, using a